Showing posts with label Scrapbooking. Show all posts

Wednesday, February 1, 2012

Project Life Title Page

I finally got around to working on my Project Life title page.  And, although I haven't figured out what pictures I'm going to use yet, I just couldn't wait to post about it.... so here it is!


I used these adorable (and FREE!!!) printable journaling cards that I found at this blog.  Also because the Photo Pocket pages A are sold out everywhere I had to make due with some WeRMemoryKeepers ones that I had on hand.  This presented me with a strange problem, however, because they don't have any of the little business card sized pockets.  My solution was to zigzag stitch two of the cards together to make them fit into one of the 4x6 pockets.  And I found that I might actually like it this way even more because it makes it just that much more interesting!


Another stitched together set of cards.


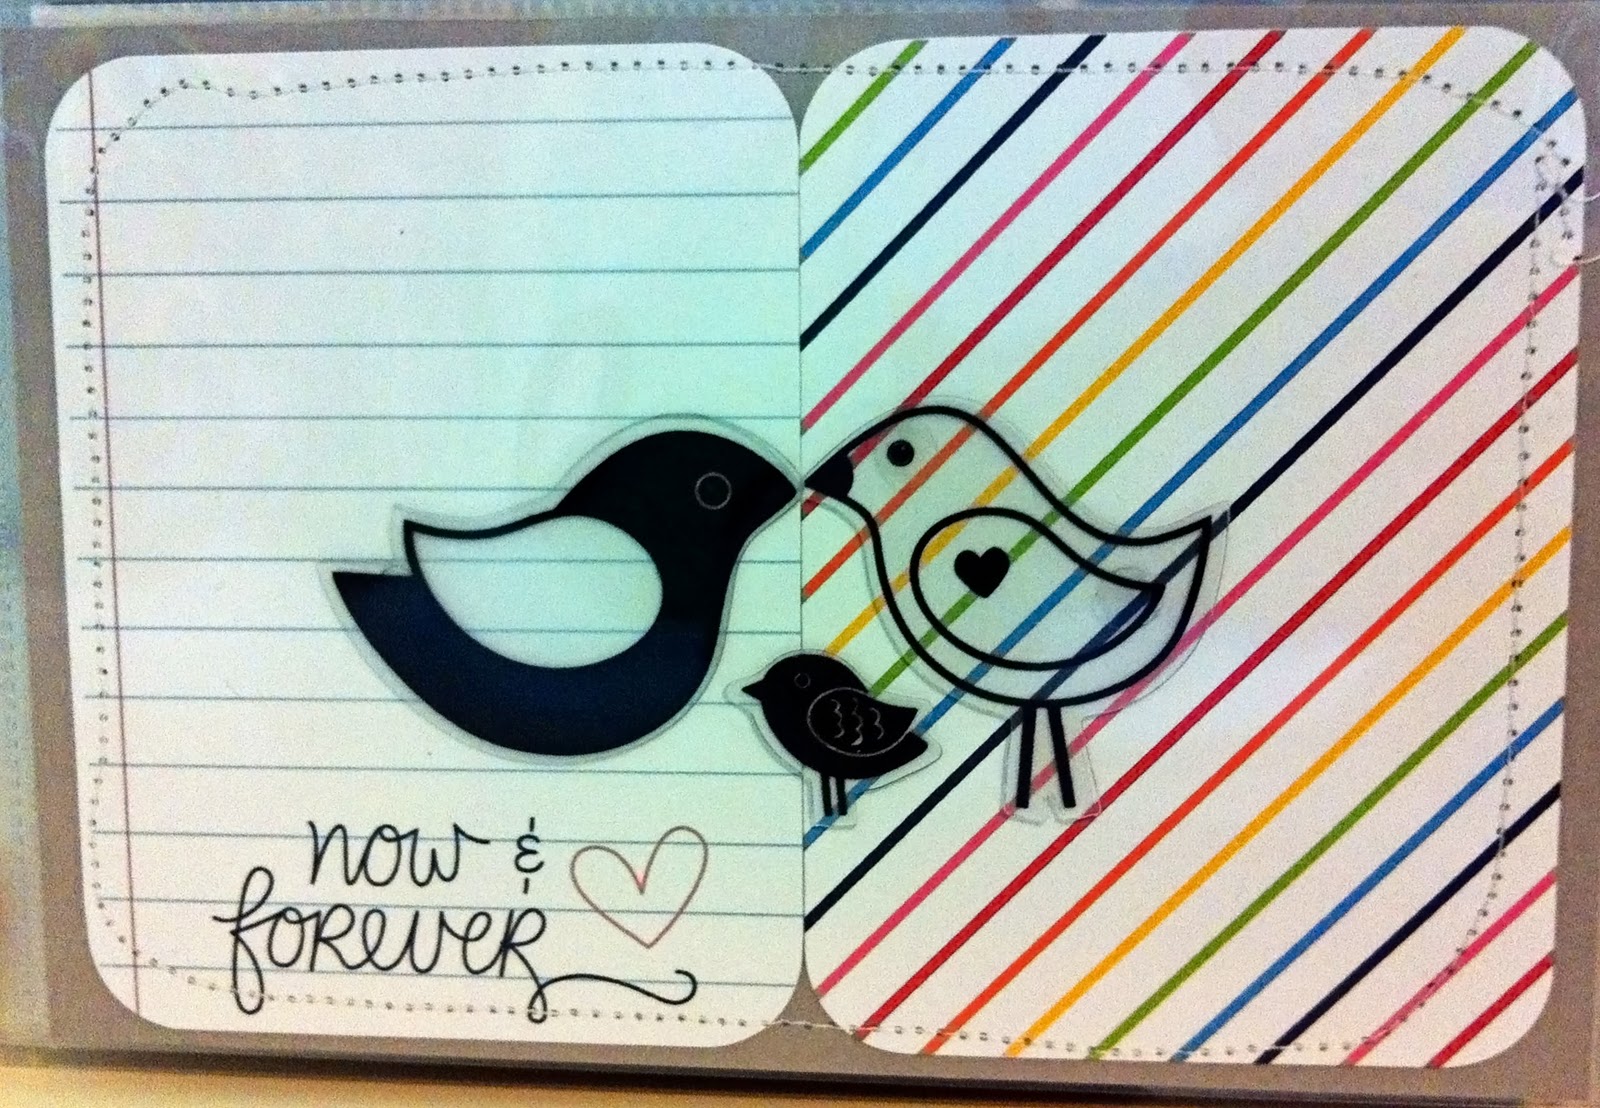
On this set of cards, I chose to stitch them onto a 4x6 piece of grey cardstock.  It still doesn't look quite right to me yet. (I think I need to go around the perimeter more than once)  I also used some little plastic birds that I've had laying around.  One for each of the three of us!  :)

For the last pocket I used one of the cards from the Clementine core kit.  I also used some Thickers to spell out our last name.  I'm really loving this Project Life stuff so far!!


Sunday, January 22, 2012

Project Life 2012

I finally decided to do something to alleviate the guilt of being so incredibly behind in my scrapbooking.  I have jumped on the Project Life band wagon!  Even though I am starting out three weeks behind everyone else, by the nature of the system, I don't think it'll take me long to catch up.  I'm really excited to get started and while waiting for my binder and core kit to arrive I started organizing all the little do-dads that make this type of scrapbooking interesting.


I scoured some of the local thrift shops for any type of organizing system that I could use and ended up with this old wooden cassette tape shelf.  I'm pretty excited with how it worked out!  Now everything is in plain sight and at my fingertips.  I cannot wait to get started!!!

Monday, October 3, 2011

New Layout

I finally got around to some more scrapbooking!!  This is the new layout I designed for the current layout challenge at Scraptopia this week.  I just couldn't wait to actually get my paper out and start working on it!


I chose the Modern Homemaker line from October Afternoon because of the bright colors and patterns.  I used six different patterns to create the banner and blocks of paper in the bottom left.


For the title, I used two coordinating stickers also from the Modern Homemaker line and I popped them to make them stand out a little more.


I used two more coordinating stickers for the right page and actually turned one into a tiny banner by simply cutting a notch into one end.


These tickets came from a sheet of Karen Foster stickers called Family Fun Night.  I once again popped them in order to add dimension.


For the banner itself, I used a scalloped circle punch, and then created my own pointed and notched banners from some rectangles and used some green twine to connect them all together.


I just love the way this one came out!!!  Enjoy!

Sunday, September 4, 2011

Scrapbook Inspiration

I came across a website recently kind of by accident and am now totally addicted to it!!  It is called Design Seeds and takes some stunning photos and breaks them down into their most simple color palette.  I cannot wait to use some of these as inspiration for my future layouts!  Here is a small sample of some of my favorites...


Monday, July 25, 2011

New Layout....FINALLY!

Sorry about the long delay in posting. It's been a BUSY summer so far. Vacations, moving people from Colorado to Oklahoma, shopping.... :)

I created this layout a while back for some pics that I took of my son and a friend playing at the local splashpad. Despite having the layout ready, it took me forever to actually edit and order the prints. Oh well, I finally got them ordered and after spending a day cropping with my SIL, I even got them scrapped!!


I love the vivid color of the pics so much that I decided to go super simple and put them on a white background and matted each photo in black. I have been saving my Bo Bunny Sunkissed papers for just the right layout and finally decided this was it. I also used the coordinating Bo Bunny double dot cardstock in a rainbow of colors for the title. Enjoy!


Sunday, June 5, 2011

Monogram

Here is the second monogram piece that I made for the second wedding of the summer. I'm even happier with the way this one came out. I used the new Daily Junque line from Pink Paislee as well as more chipboard letters.


Here is a close up of the top right corner where I layered pieces of the papers cut like banners with a small Zva pearl swirl and some paper flowers. I used some of my vintage buttons for flower centers.


Again in the bottom right corner I layered paper pieces with flowers, pearls, and a ribbon bow.


In the top right corner I layered several pieces from the Daily Junque Ephemera kit and used a banner sticker I had to write out the date of the wedding. I love how the journaling card fit the occasion perfectly!!


I can't wait to start on the third monogram!! Hope you enjoy looking!

Monday, May 16, 2011

This summer I have the privilege of attending three wedding for some very dear friends. Along with this comes a dilemma, though. I really want to make something special for each of them and yet I have been drawing a total blank on what that special something should be...until the other night, when my completely stopped up (and yet at the same time, running like a faucet) nose was preventing me from sleeping. I'm not exactly sure where the idea came from but it ran somewhere along the lines of making a monogram/family crest kind of thing for each of the couples. This is how the first one turned out.


I used some older Crate Paper papers that I had on hand and a random sheet of scalloped paper that I had laying around.


I used thick chipboard letters that I Mod Podged the paper onto and then popped up the two side letters to add some visual interest.


I then added some ribbon and vintage looking lace across the bottom half and some coordinating dew drops around the scalloped edge. I also chalked all the edges with Chestnut Roan Catseye chalk ink.


Lastly, I added a few vintage K & Company rub-ons where I then carefully wrote in the year of the couple's uniting. I'm pretty happy with how it turned out and now I can't wait to get to work on the other two.

Monday, May 9, 2011

New Layout

Here is a new layout that I came up with for some pictures I took of my sister's kids. I can't wait to get the prints so I can do this one!!!

Tuesday, March 29, 2011

Birthday

I'm a little behind in my scrapbooking these days but I finally managed to get a page done from my son's last birthday.

I saw this layout over on Scrapbook Generations website quite a while back and absolutely fell in love with it. I was determined to figure out how to adapt it for a boy and was so excited when I realized how great it would work with these pictures!


I used an old line of birthday paper from Creative Imaginations and several brights from Bo Bunny's double dot line of cardstock. I had an old set of Basic Grey chipboard numbers that I covered with more of the cardstock.


I used the Celebrations Cricut cartridge to cut out the balloons, popped up a few of them and attached some string.


Snow Fun

We had so much fun walking around in the snow (after the temp FINALLY got above zero) and even though I couldn't wait to scrap them, life kind of got in the way and I just now got around to it. I found this layout on Allison Davis' blog a while back and thought it was perfect for these pics. I used some old Basic Grey paper that I've had for a while and paired it with some Thickers and die cut shapes from My Mind's Eye.

I chose to pop up the die cut embellishments as well as use Stickles to make the words snow and winter sparkle like the snow.


I also used some Tiny Type letters to add the word wonderland to the large circle die cut.


Tuesday, March 22, 2011

Gardening

I finally got around to printing out and scrapbooking the pictures of my son helping his grandparents plant seeds in their garden last fall. When I saw this paper from the My Little Shoebox line, Farmer's Market, I knew it was perfect for these photos. I ended up using the solid papers instead of the bright papers with the veggies on them but the theme still comes out in the embellishments.

Wednesday, March 16, 2011

Layout

I finally got around to finishing the layout for this sketch that I made a while back. I'm pretty happy with how it turned out. I originally planned to use old fashioned hand arrows to point to the pictures but really liked the look of the arrows much better. I also added the chopsticks above the title which I cut out from the Pagoda Cricut cartridge.

P.S. Please excuse the terrible photos. I took them with my phone in a room with no windows....


Tuesday, March 1, 2011

Blog Giveaway

Melissa over at Creating from the Heart: Keepsakes by Melissa is having a fantastic giveaway right now. Head on over there and follow her instructions to be entered. Good luck everyone!!!

Monday, February 7, 2011

Layout Sketch

Here is the latest sketch I came up with for pictures of my son eating our own homemade spam musubi. Once again, sometime in the near future, I hope to get the layout pictures uploaded to the computer. *sigh*

Friday, January 28, 2011

This layout sketch is the one that I created for my Christmas pictures.

Wednesday, January 26, 2011

Gorgeous

I am completely and totally addicted to the Polyvore website! I have been almost constantly browsing it lately and creating sets of things that I love and that inspire me. I cannot wait to create a layout based on this set. It has a modern Victorian feel to it and colors are so soft and simple. The wheels are turning.......